How to Buy Cryptocurrency on Paybis: Step-by-Step Guide
Step-by-step guide to buying cryptocurrency on Paybis: registration, KYC, choosing a coin, paying by card and receiving funds in your wallet. Simple and clear for beginners.
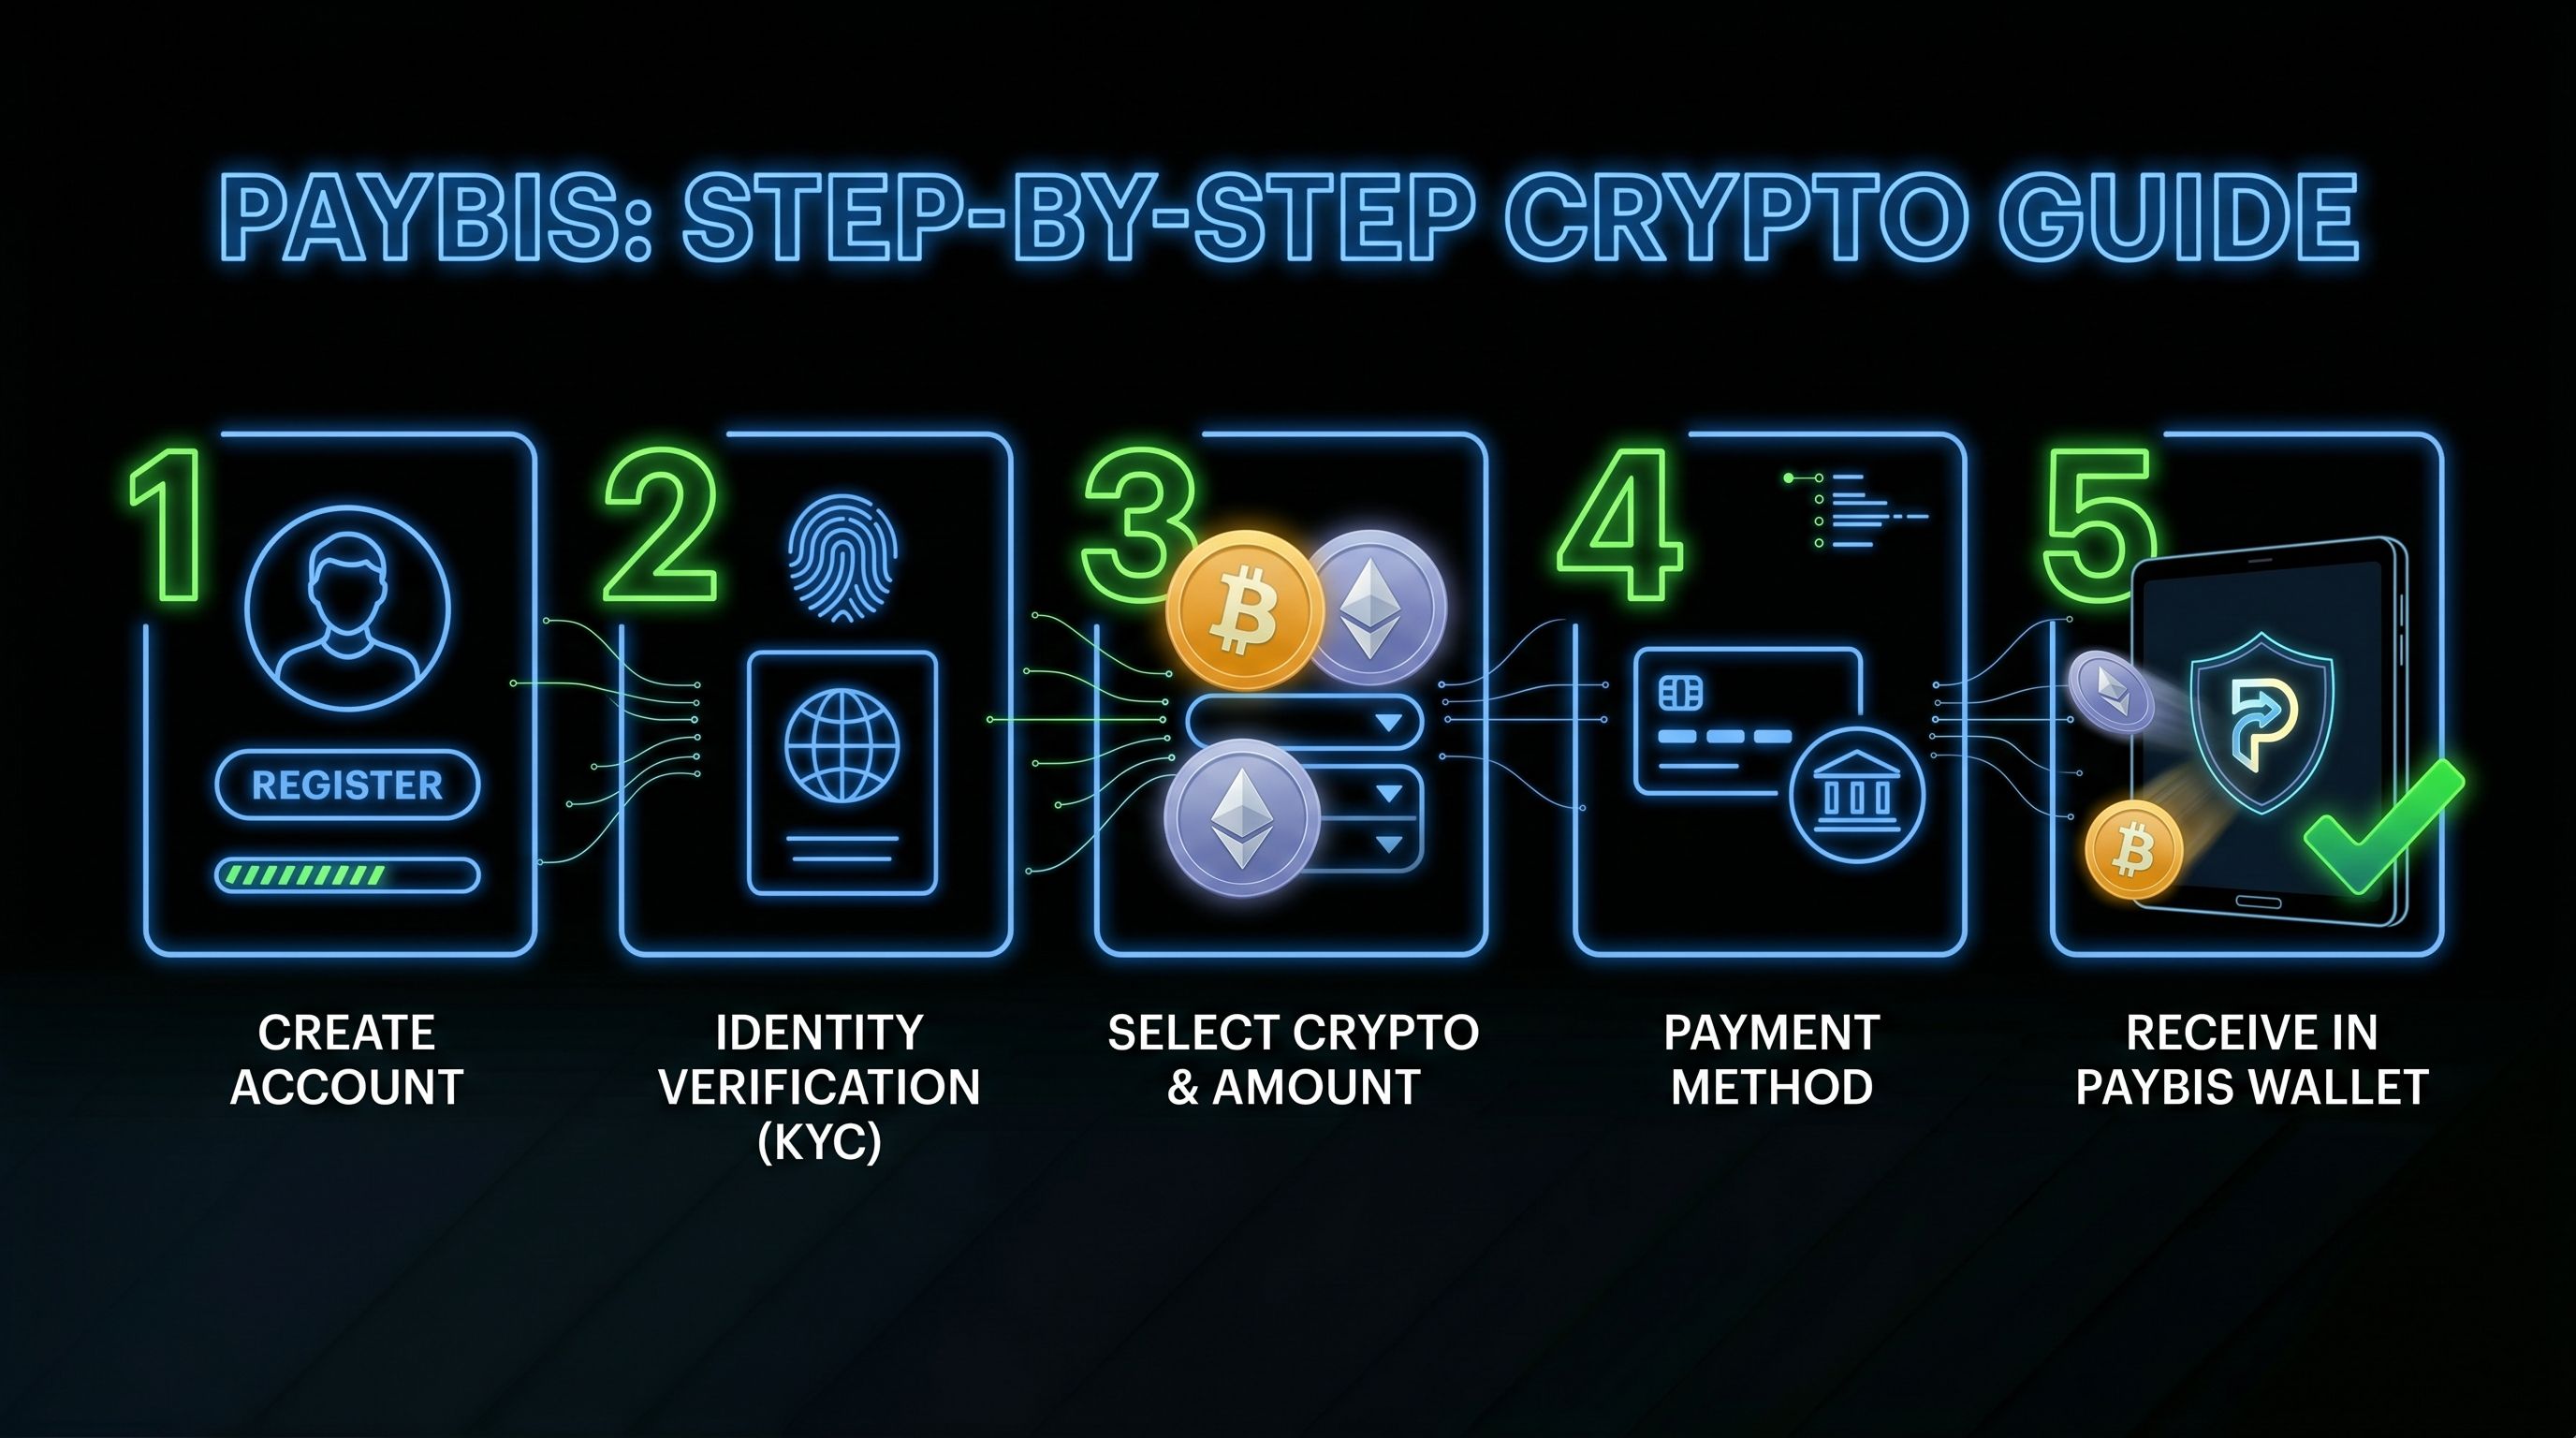
Buying cryptocurrency on Paybis is simpler than it looks. The entire process — from registration to receiving Bitcoin or Ethereum in your wallet — takes about 10 minutes on your first purchase. Repeat purchases are even faster: verification is done once and never required again.
This article walks through every step in detail — explaining why each one matters and what to watch out for.
What to Prepare in Advance
Before you begin, make sure you have three things ready.
A government-issued identity document — a passport or national ID card. You will need it for KYC verification on your first purchase. Have it ready to photograph in good lighting so all details are clearly visible.
A Visa or Mastercard — for payment. Make sure the card has sufficient funds and that online payments are not blocked by your bank.
A cryptocurrency wallet address — where your funds will be sent. Paybis sends cryptocurrency directly to your personal wallet using a non-custodial model, which means you immediately have full control over your asset. If you do not yet have a wallet, create one in advance using any non-custodial mobile app. After creating it, write down your seed phrase (12 or 24 words) and store it offline in a safe place.
Step 1. Registration
Go to Paybis via the button on CryptoGuide. Click Sign Up and fill in the form: enter your email address and create a strong password. A six-digit confirmation code will be sent to the email you provided — enter it in the form. The system will then ask you to verify your phone number via an SMS code.
The entire registration process takes about one minute. Once your contact details are confirmed, your account is created and you can proceed to your purchase.
Step 2. Choosing a Cryptocurrency and Amount
On the Paybis main screen you will find a converter: on the left, the amount in your currency; on the right, the amount of cryptocurrency you will receive. Enter the amount you want to spend and select a coin: Bitcoin (BTC), Ethereum (ETH), USDT, or any other from more than 80 available options.
The exchange rate updates automatically in real time. A full fee breakdown is shown at this stage — how much goes to the service and how much is the blockchain network fee. There are no hidden charges: the total amount displayed before confirmation is exactly what will be charged to your card.
Important: your first purchase on Paybis carries no service fee. From the second transaction onwards, the service fee is 2.49%.
Step 3. Identity Verification (KYC)
On your first purchase, the system automatically launches the KYC procedure — identity verification. This is a financial regulatory requirement; no legitimate service can process a purchase without it.
The process has several steps. First, you enter your personal details: name, date of birth, and address. Then you upload a photo of your identity document — passport or national ID. After that, you take a selfie: the system compares your face to the photo in your document in real time.
For most users, the automated check takes less than five minutes. In rare cases the document is sent for manual review, which can take up to several hours. Verification is done once — repeat purchases do not require it again.
Step 4. Entering Your Wallet Address
After passing KYC, the system will ask for your wallet address — where to send the cryptocurrency after payment.
Open your wallet app, find the receiving address for the coin you are buying, and copy it to the clipboard. Do not type the address manually — this almost guarantees an error.
After pasting, check the first and last several characters of the address and confirm they match what is shown in your wallet app. Blockchain transactions are irreversible: if funds are sent to the wrong address, they cannot be recovered.
Pay attention to the network. Some coins operate on multiple networks — for example, USDT is available on Ethereum (ERC-20), Tron (TRC-20) and others. Make sure your wallet address and the selected network match.
Step 5. Paying by Card
Enter your Visa or Mastercard details: card number, expiry date and CVV code. Paybis processes the payment through a secure payment gateway — your card data is encrypted and not stored on the platform's servers in plain text.
Your bank may request additional confirmation via its app or SMS — this is the standard 3D Secure procedure for online payments. Confirm the transaction in your banking app or enter the code from your SMS.
If the transaction does not go through, the most common reasons are: your bank has blocked payments to crypto services (resolved by calling your bank), or you have exceeded your card's daily online transaction limit (resolved through your banking app). In both cases, you can try a different card.
Step 6. Receiving Your Cryptocurrency
After payment is confirmed, Paybis immediately forms a transaction and sends the cryptocurrency to the address you provided. The platform gives you a transaction hash (txid) — save it.
You can track the transaction status in a blockchain explorer using this hash: for Bitcoin, use blockchain.com or mempool.space; for Ethereum and tokens on its network, use etherscan.io. Paste the hash into the search field to see the current status and number of network confirmations.
Delivery time depends on the coin and network congestion. Bitcoin typically receives its first confirmation within 10–30 minutes and full confirmation after 3–6 blocks, meaning 30–60 minutes. Ethereum and most other coins arrive significantly faster — usually within a few minutes. USDT on the Tron network (TRC-20) is one of the fastest and cheapest options, with transactions completing in 1–3 minutes.